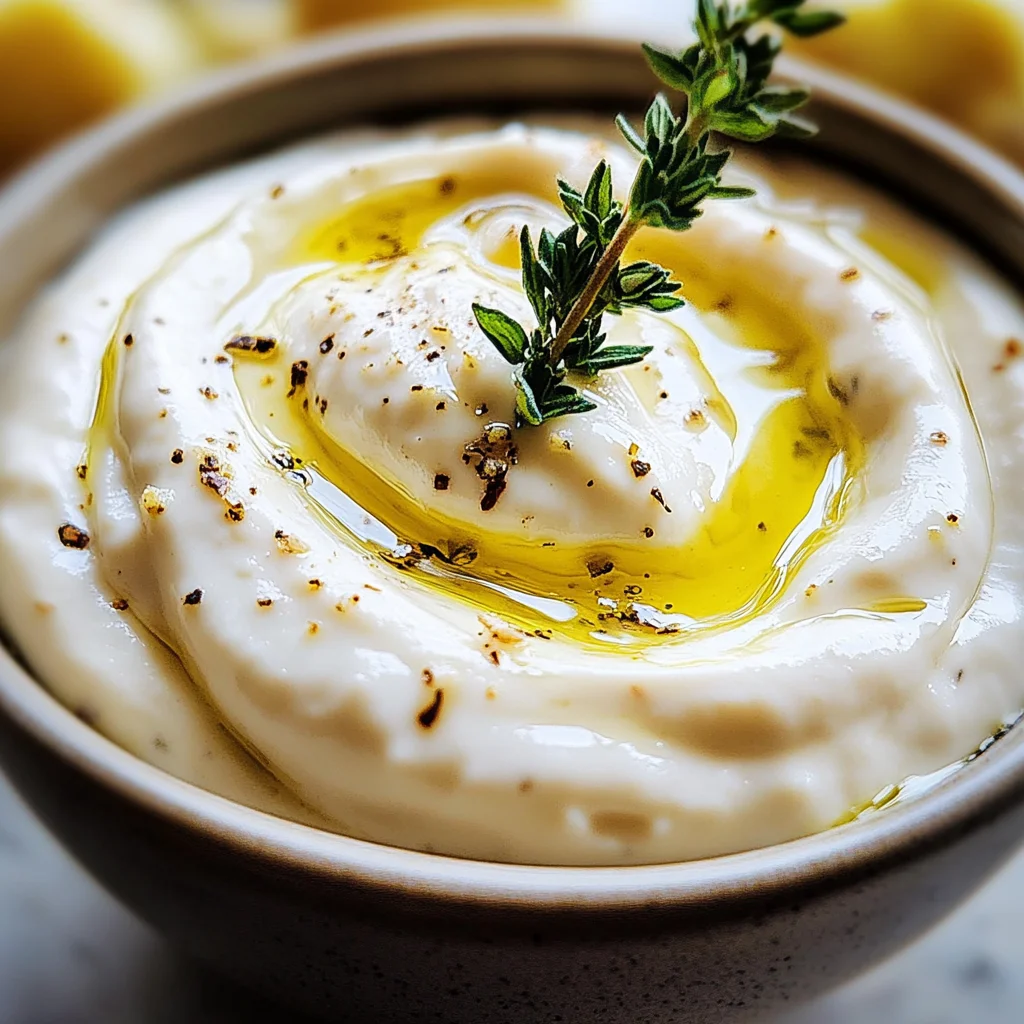
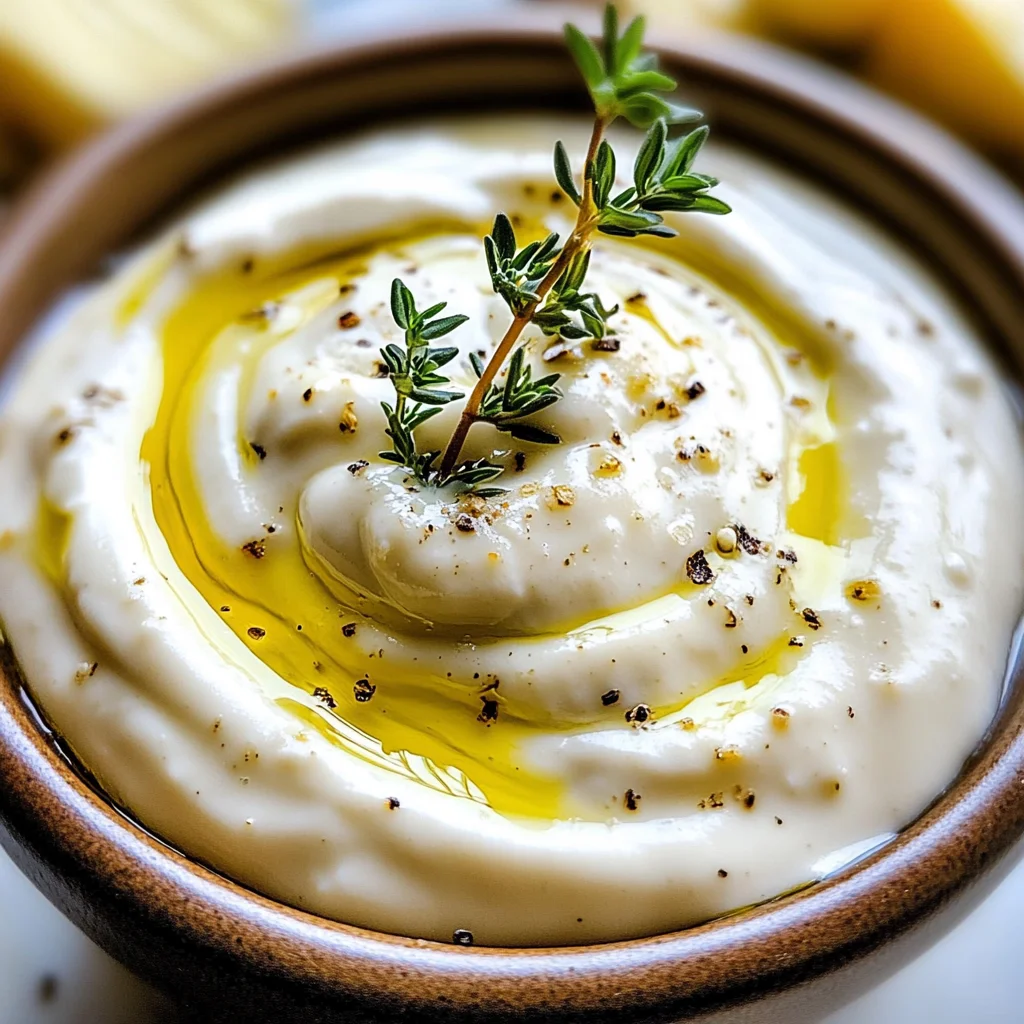
Garlic Aioli
If you’re looking for a dip that can transform your meals into something extraordinary, look no further than this homemade Garlic Aioli. It’s creamy, rich, and bursting with flavor that will leave everyone asking for more. Whether you’re enjoying a cozy dinner at home or hosting a lively family gathering, this garlic aioli is sure to elevate your dishes. With just a handful of simple ingredients, you can whip up this delightful dip in no time.
This recipe has been a staple in my kitchen for years, and it never fails to impress. The combination of fresh garlic and zesty lemon juice creates a magic that enhances everything from crispy fries to fresh veggies. Trust me, once you try it, you’ll wonder how you ever lived without it!
Why You’ll Love This Recipe
- Quick and easy: You can make this garlic aioli in just 10 minutes! Perfect for those busy weeknights.
- Family-friendly: Its creamy texture and mild flavor appeal to both kids and adults alike.
- Versatile: Use it as a dip, a spread, or even drizzle it over grilled veggies for an extra zing!
- Make-ahead convenience: Prepare it in advance and let the flavors meld; it gets even better after chilling!
- Fresh ingredients: Made with wholesome ingredients you likely already have at home.
Ingredients You’ll Need
Making your own garlic aioli is easy with these simple, wholesome ingredients. You’ll love how straightforward they are!
- 4 cloves fresh garlic, minced
- 1 cup mayonnaise
- 2 tbsp freshly squeezed lemon juice
- 2 tbsp extra virgin olive oil
- Salt and pepper to taste
Variations
One of the best things about this garlic aioli is its flexibility! Feel free to get creative with these fun variations:
- Add herbs: Toss in some chopped fresh herbs like basil or parsley for an herbal twist.
- Spice it up: A pinch of cayenne pepper adds a nice kick if you’re feeling adventurous!
- Swap the mayo: Try using Greek yogurt instead of mayonnaise for a lighter option.
- Add roasted garlic: For a sweeter flavor profile, use roasted garlic instead of raw.
How to Make Garlic Aioli
Step 1: Prepare the Garlic
First things first—mince those garlic cloves finely! This step is crucial because finely minced garlic releases more oils and flavor into the aioli. Plus, no one wants big chunks of raw garlic in their dip!
Step 2: Mix the Base
In a mixing bowl, combine your minced garlic with the mayonnaise. This forms the creamy base of your aioli. As you mix these two together, gradually drizzle in the olive oil while stirring until everything is smooth and well combined.
Step 3: Add Zesty Flavor
Now it’s time to brighten things up! Add freshly squeezed lemon juice to the mixture. This not only balances the richness but also adds a refreshing zing. Don’t forget to season with salt and pepper; taste as you go to find that perfect balance!
Step 4: Chill Out
Once everything is mixed together beautifully, cover your bowl and chill the aioli in the refrigerator for at least 30 minutes. This waiting period allows all those wonderful flavors to meld together beautifully.
Step 5: Serve and Enjoy
Finally, it’s time to serve your delicious homemade garlic aioli! Pair it with fries, fresh vegetables, or even grilled meats. Your taste buds will thank you!
Pro Tips for Making Garlic Aioli
Creating the perfect garlic aioli is all about technique and ingredient quality. Here are some tips to ensure your aioli turns out creamy and delicious every time!
-
Use fresh garlic: Fresh garlic has a more vibrant flavor than pre-minced varieties, giving your aioli that robust punch it needs.
-
Emulsify carefully: When adding the olive oil, do it slowly while stirring. This helps create a smooth, creamy texture instead of a greasy mess.
-
Adjust acidity: Taste as you go! Adding lemon juice gradually allows you to control the tartness, ensuring it complements rather than overpowers the garlic.
-
Chill before serving: Allowing your aioli to chill for at least 30 minutes enhances the flavors as they meld together, making each bite even tastier.
-
Experiment with flavors: Feel free to add herbs or spices like dill or smoked paprika for a unique twist that matches your meal perfectly!
How to Serve Garlic Aioli
Garlic aioli isn’t just a dip; it’s the star of your appetizer platter and can elevate various dishes. Here are some delightful ways to present this creamy concoction!
Garnishes
- Chopped parsley: A sprinkle of fresh chopped parsley adds a pop of color and freshness.
- Zest of lemon: A little lemon zest on top brings an aromatic brightness that enhances the flavor.
Side Dishes
-
Crispy French fries: Perfectly golden fries make an irresistible pairing; their crunch complements the smoothness of the aioli.
-
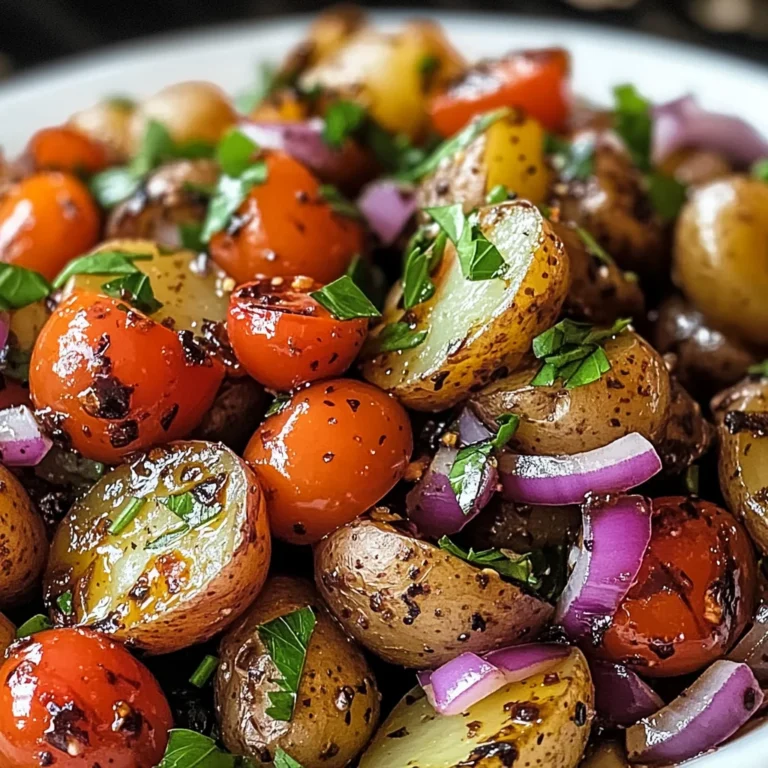
Roasted vegetables: Seasonal veggies roasted to perfection provide a savory option that pairs beautifully with garlic aioli’s creaminess.
-
Grilled chicken skewers: Tender, juicy chicken skewers are great for dipping and offer a satisfying protein alongside your flavorful aioli.
-
Fresh vegetable platter: A colorful array of fresh veggies like carrots, cucumbers, and bell peppers offers a healthy crunch that balances the richness of the aioli.
With these ideas, you’ll be ready to serve your garlic aioli like a pro! Enjoy experimenting and sharing this delicious dip with friends and family!
Make Ahead and Storage
This garlic aioli recipe is perfect for meal prep! You can easily whip up a batch ahead of time, making it a convenient addition to your weekly meals or a fantastic dip for gatherings.
Storing Leftovers
- Store any leftover garlic aioli in an airtight container.
- Keep it in the refrigerator for up to one week.
- Make sure to stir well before serving again, as ingredients may separate over time.
Freezing
- While it’s best fresh, you can freeze garlic aioli for up to three months.
- Use an airtight container or freezer-safe bag, removing as much air as possible.
- Thaw in the fridge overnight and give it a good stir before using.
Reheating
- Garlic aioli is served cold or at room temperature; there’s no need to reheat.
- If you prefer it at room temperature, let it sit out for about 30 minutes before serving.
FAQs
Here are some common questions that might come to mind when making garlic aioli.
Can I use garlic powder instead of fresh garlic in garlic aioli?
While fresh garlic gives the best flavor, you can use garlic powder if necessary. About 1 teaspoon of garlic powder can replace 1 clove of fresh garlic. However, be aware that the taste will differ slightly.
How do I make a lighter version of garlic aioli?
For a lighter version of garlic aioli, consider replacing half of the mayonnaise with Greek yogurt. This will maintain creaminess while reducing calories and adding a tangy flavor.
What can I serve with homemade garlic aioli?
Homemade garlic aioli pairs wonderfully with fries, fresh vegetables, grilled meats, or even as a spread on sandwiches and wraps. It’s versatile and adds delicious flavor to many dishes!
Can I adjust the amount of lemon juice in the garlic aioli recipe?
Absolutely! You can adjust the amount of lemon juice according to your taste preferences. Adding more will enhance the zestiness, while less will create a milder flavor.
Final Thoughts
I hope this homemade garlic aioli recipe brings joy and flavor to your meals! It’s easy to prepare and incredibly versatile, making it a true kitchen staple. Enjoy experimenting with different pairings and feel free to share this delightful dip with family and friends. Happy cooking!
Garlic Aioli
Transform your meals with this delightful homemade Garlic Aioli! This creamy and rich dip bursts with flavor, making it the perfect accompaniment for crispy fries, fresh veggies, or grilled meats.
- Prep Time: 10 minutes
- Cook Time: 0 minutes
- Total Time: 10 minutes
- Yield: About 8 servings 1x
- Category: Dip
- Method: Mixing
- Cuisine: Mediterranean
Ingredients
- 4 cloves fresh garlic, minced
- 1 cup mayonnaise
- 2 tbsp freshly squeezed lemon juice
- 2 tbsp extra virgin olive oil
- Salt and pepper to taste
Instructions
- Mince the garlic cloves finely to maximize flavor.
- In a mixing bowl, combine minced garlic with mayonnaise. Gradually drizzle in olive oil while stirring until smooth.
- Add freshly squeezed lemon juice and season with salt and pepper; mix well.
- Cover and chill in the refrigerator for at least 30 minutes to allow flavors to meld.
- Serve with fries, fresh vegetables, or grilled chicken skewers.
Nutrition
- Serving Size: 2 tablespoons (30g)
- Calories: 120
- Sugar: 0g
- Sodium: 150mg
- Fat: 12g
- Saturated Fat: 1g
- Unsaturated Fat: 10g
- Trans Fat: 0g
- Carbohydrates: 1g
- Fiber: 0g
- Protein: 0g
- Cholesterol: 0mg