Homemade Apple Pie Filling
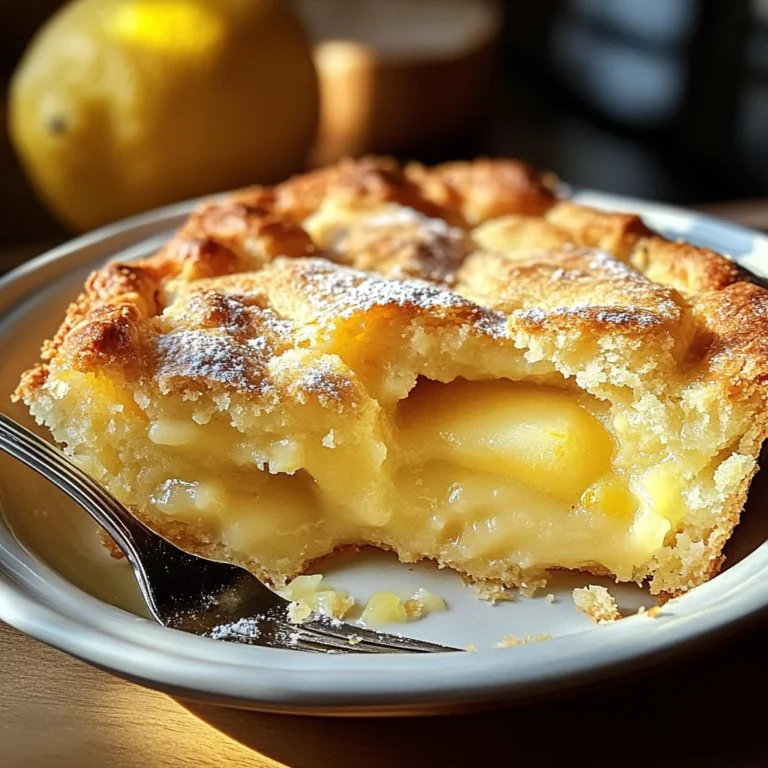
If you’re looking for the perfect way to celebrate fall, or simply want to elevate your baking game, you’ve landed in the right place! This Homemade Apple Pie Filling is my secret weapon for creating delicious desserts that warm the heart. Whether you’re whipping up a classic apple pie for a family gathering or using it as a topping for ice cream on a busy weeknight, this recipe is sure to become a favorite!
What I love most about this filling is its versatility. You can use it in pies, tarts, or even as a delightful addition to breakfast pastries. It’s quick and easy to prepare, making it a great option for any occasion when you’re craving something sweet.
Why You’ll Love This Recipe
- Quick preparation: With just 15 minutes of prep time, you’ll have this filling ready in no time!
- Wholesome ingredients: Made with fresh apples and simple staples, it’s as comforting as it is delicious.
- Versatile use: Perfect for pies, crumbles, and even as a topping for pancakes or yogurt.
- Make-ahead friendly: Prepare a batch and store it in the fridge or freezer for easy access whenever you’re inspired to bake.
- Family-approved flavor: The warm spices combined with sweet apples create a taste that everyone will love.
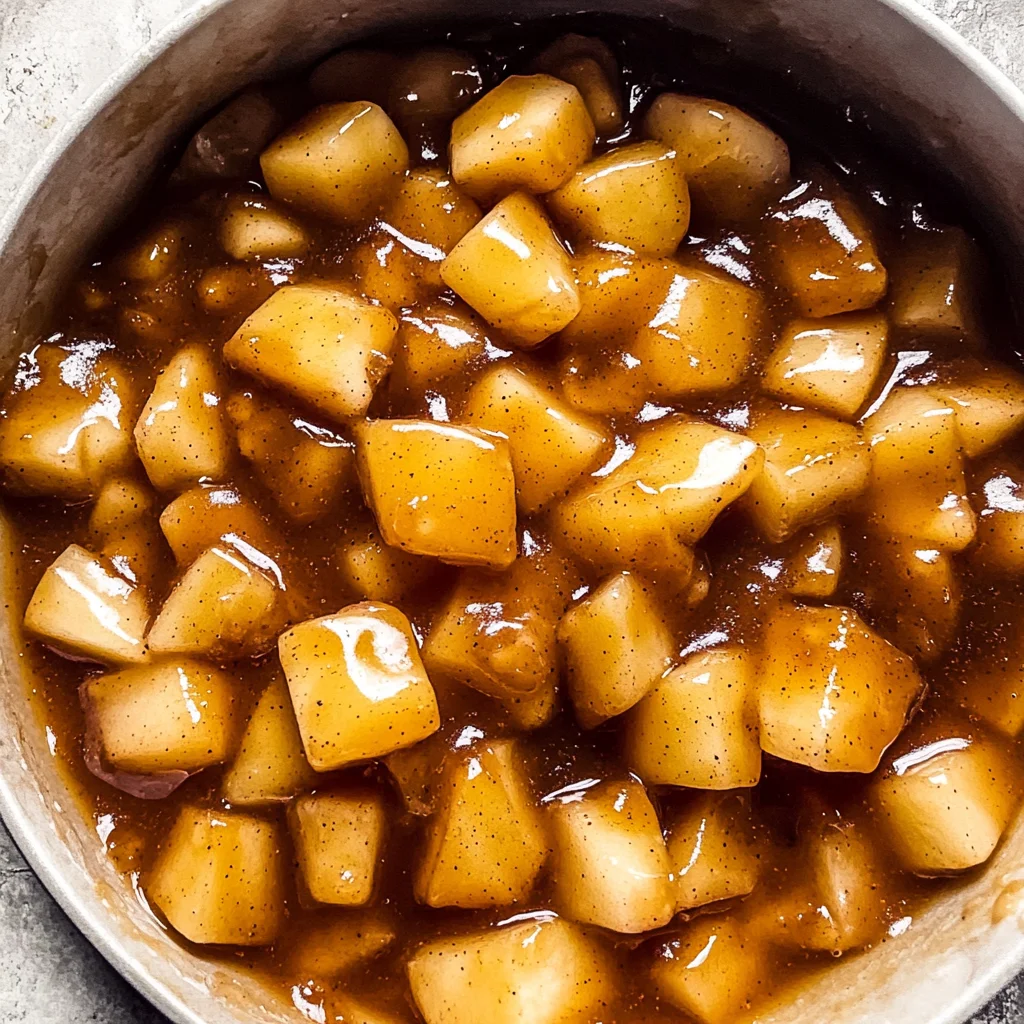
Ingredients You’ll Need
Let’s gather some simple and wholesome ingredients to make this delightful Homemade Apple Pie Filling! These basic items are easy to find and will help you create that comforting flavor we all adore.
For the Filling
- 9 cups fresh apples, peeled, cored, and chopped into uniform sizes
- 2 tablespoons lemon juice
- 3 cups white sugar
- 2 tablespoons brown sugar
- 1/2 cup cornstarch
- 1 teaspoon ground cinnamon
- 1/2 teaspoon ground nutmeg
- 1/2 teaspoon coarse sea salt
Variations
One of the best things about this Homemade Apple Pie Filling is how flexible it can be! Feel free to get creative with these fun variations:
- Add some berries: Toss in some fresh blueberries or raspberries for an exciting twist!
- Mix in nuts: Chopped walnuts or pecans add a lovely crunch that complements the soft apples.
- Spice it up: Try adding ginger or cloves for an extra layer of flavor that’s perfect for the fall season.
- Go sugar-free: Substitute the sugars with your favorite natural sweetener if you’re watching your sugar intake.
How to Make Homemade Apple Pie Filling
Step 1: Prepare the Apples
In a large bowl, toss those freshly peeled, cored, and chopped apples with lemon juice. This step is crucial because it helps prevent browning and keeps your filling looking beautiful. Set them aside while you work on the sauce!
Step 2: Make the Sauce
In a large Dutch oven or saucepan, combine white sugar, brown sugar, cornstarch, ground cinnamon, ground nutmeg, and coarse sea salt. Adding 4 cups of water to this mixture creates a flavorful base. Bring everything to a low simmer. This step allows all those lovely flavors to meld together beautifully.
Step 3: Combine Apples and Sauce
Gently stir in the prepared apples into your simmering sauce. Cover the pot and let it cook for about 6-10 minutes. If you’ve cut your apples into bite-sized pieces (which I highly recommend), they will cook faster—closer to 6 minutes! The goal here is soft apples that can be easily pierced with a fork and a thickened sauce that clings beautifully to each piece.
Step 4: Cool Down
Once your filling is done cooking, remove it from heat and allow it to cool. This cooling step is important because you’ll want it at room temperature before using it in your favorite baked goods.
Step 5: Storage Options
After cooling down completely, you can use this filling right away in recipes like pies or crisps. Alternatively, can or freeze it for later use! Just make sure it’s stored in airtight containers.
If you’ve tried this recipe, come back and let us know how it was in the comments or ratings! Enjoy creating delicious memories with this Homemade Apple Pie Filling!
Pro Tips for Making Homemade Apple Pie Filling
Making homemade apple pie filling is a delightful process, and with these pro tips, you’ll ensure your filling turns out perfectly every time!
-
Choose the right apples: Opt for a mix of sweet and tart apples like Granny Smith and Honeycrisp. This combination adds depth of flavor to your filling, enhancing the overall taste of your pie.
-
Uniform chopping: Cut your apples into uniform sizes to ensure even cooking. This way, every bite will have the perfect texture, making your pie filling wonderfully consistent.
-
Don’t skip the lemon juice: Tossing the apples in lemon juice not only prevents browning but also brightens the flavor. It adds a lovely tang that balances the sweetness of the sugars.
-
Adjust sweetness to taste: Depending on your preference and the type of apples you use, feel free to tweak the sugar amounts. A little less sugar can let the natural flavors shine through without being overly sweet.
-
Cool before using: Allowing your apple pie filling to cool completely before using it helps thicken up further. This prevents a soggy crust when you assemble your pie or other baked goods.
How to Serve Homemade Apple Pie Filling
Once you’ve made this delicious homemade apple pie filling, it’s time to think about how to serve it! Whether you’re whipping up a classic apple pie, serving it over ice cream, or using it as a topping for pancakes, this versatile filling has endless possibilities.
Garnishes
- Whipped coconut cream: A light and dairy-free alternative to traditional whipped cream that pairs beautifully with apple pie filling.
- Chopped nuts: Sprinkle some toasted walnuts or pecans on top for added crunch and nutty flavor that complements the sweetness of the apples.
Side Dishes
- Vanilla ice cream: A scoop of vanilla ice cream creates a delightful contrast with warm apple pie filling, making for a classic dessert experience.
- Pancakes or waffles: Use the apple pie filling as a topping on fluffy pancakes or crispy waffles for an indulgent breakfast treat.
- Oatmeal: Stirring in some apple pie filling into oatmeal makes for a cozy and comforting breakfast option that’s packed with flavor.
- Cheese platter: Pairing this sweet filling with cheese—like sharp cheddar—creates an interesting contrast that elevates both flavors in an unexpected way.
Enjoy experimenting with your homemade apple pie filling in various ways! Don’t forget to come back and share how you served yours!
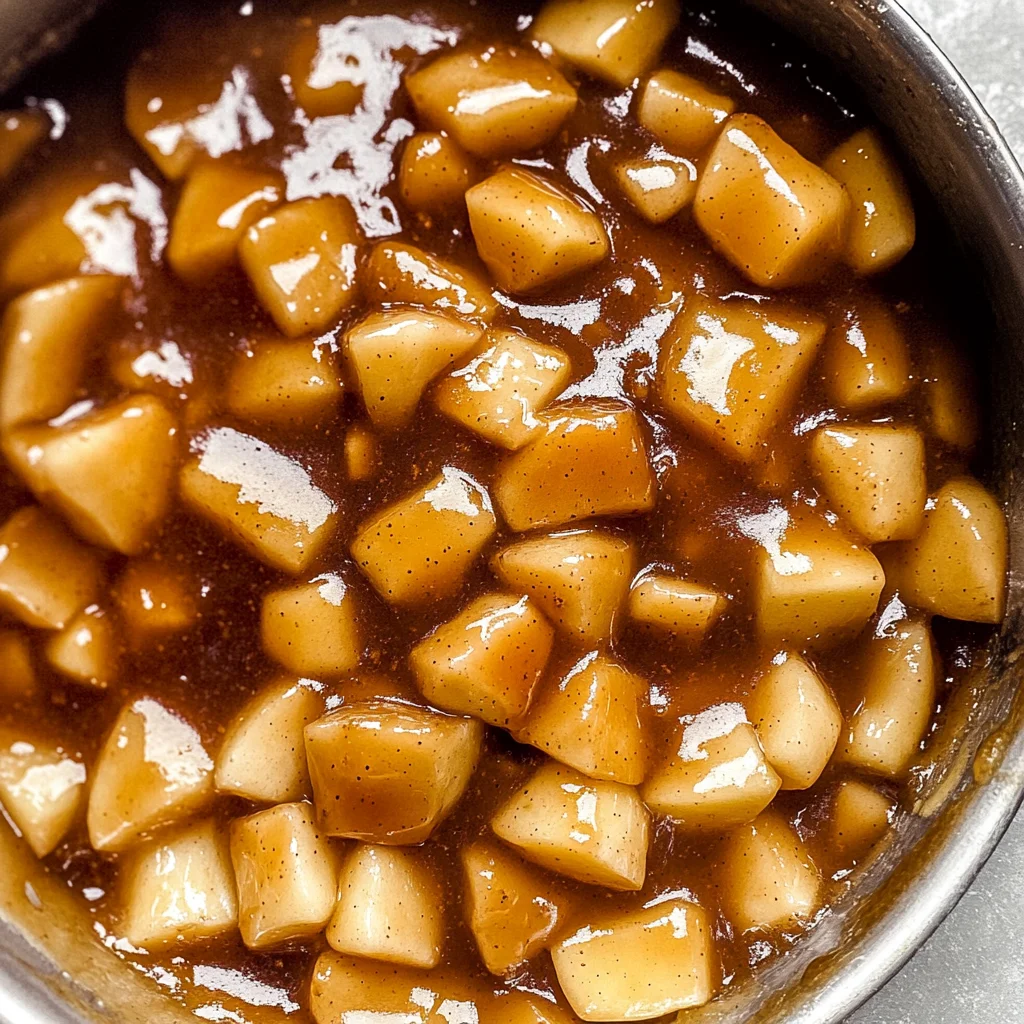
Make Ahead and Storage
This Homemade Apple Pie Filling is perfect for meal prep! You can easily make a big batch ahead of time, making it convenient for those busy days when you want to whip up a dessert quickly.
Storing Leftovers
- Store any leftover apple pie filling in an airtight container in the refrigerator.
- It will keep well for up to one week.
- Make sure to let it cool completely before sealing the container to avoid condensation.
Freezing
- Allow the apple pie filling to cool completely before transferring it to freezer-safe bags or containers.
- Label your containers with the date and contents.
- It can be frozen for up to 6 months, making it a great option for future desserts.
Reheating
- Thaw frozen apple pie filling in the refrigerator overnight.
- To reheat, place it in a saucepan over low heat and stir until warmed through.
- You can also microwave it in short intervals, stirring between each interval until hot.
FAQs
Here are some common questions you might have about this delicious recipe!
Can I use different types of apples for my Homemade Apple Pie Filling?
Absolutely! While Granny Smith apples are popular for their tartness, feel free to mix varieties like Honeycrisp or Fuji for added flavor and sweetness.
How long does Homemade Apple Pie Filling last in the fridge?
Your homemade apple pie filling should last about a week in the refrigerator when stored properly. Just remember to keep it in an airtight container!
Can I make this Homemade Apple Pie Filling without sugar?
Yes! You can substitute sugar with alternatives like maple syrup or agave nectar. Just adjust the quantity to taste!
What is the best way to use Homemade Apple Pie Filling?
This versatile filling can be used not only in pies but also in tarts, crumbles, or even as a topping for pancakes and waffles. Get creative!
Final Thoughts
I hope you enjoy making this Homemade Apple Pie Filling as much as I do! It’s such a comforting and delightful recipe that brings warmth to any dessert you create. Whether it’s for a family gathering or just because you crave something sweet, this filling is sure to impress. Don’t forget to share your experience or any tweaks you made in the comments below—I’d love to hear from you! Happy baking!
Homemade Apple Pie Filling
Create a delightful Homemade Apple Pie Filling that brings the warm flavors of fall into your kitchen. This easy-to-follow recipe features fresh, juicy apples combined with a perfect blend of spices for an irresistible dessert filling. Whether you’re making classic apple pie, topping pancakes, or adding it to breakfast pastries, this versatile mixture is sure to become a staple in your baking repertoire. With just 15 minutes of preparation time, you can whip up a batch that can be stored for later use or enjoyed right away. Your family and friends will love the comforting taste and aroma that this homemade filling offers!
- Prep Time: 15 minutes
- Cook Time: 10 minutes
- Total Time: 25 minutes
- Yield: Approximately 6 servings 1x
- Category: Dessert
- Method: Baking
- Cuisine: American
Ingredients
- 9 cups fresh apples, peeled, cored, and chopped
- 2 tablespoons lemon juice
- 3 cups white sugar
- 2 tablespoons brown sugar
- 1/2 cup cornstarch
- 1 teaspoon ground cinnamon
- 1/2 teaspoon ground nutmeg
- 1/2 teaspoon coarse sea salt
Instructions
- Prepare the Apples: In a large bowl, toss chopped apples with lemon juice to prevent browning.
- Make the Sauce: In a Dutch oven, mix white sugar, brown sugar, cornstarch, cinnamon, nutmeg, and salt. Add 4 cups of water and bring to a low simmer.
- Combine: Stir in the prepared apples and cook covered for about 6-10 minutes until they are tender.
- Cool Down: Remove from heat and let cool before using in recipes or storing.
- Storage: Store in airtight containers in the fridge for up to one week or freeze for up to six months.
Nutrition
- Serving Size: 1/2 cup (125g)
- Calories: 190
- Sugar: 35g
- Sodium: 5mg
- Fat: 0g
- Saturated Fat: 0g
- Unsaturated Fat: 0g
- Trans Fat: 0g
- Carbohydrates: 50g
- Fiber: 3g
- Protein: <1g
- Cholesterol: 0mg

